Posted by Heat Transfer Warehouse on Oct 24th 2019
How To Inlay Heat Transfer Vinyl
What is an inlay?
The definition of inlay is: a design, pattern, or piece of material set within the surface (inlaid) of something.
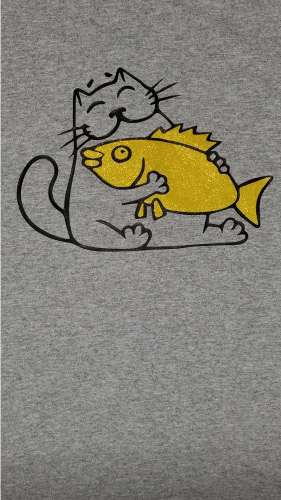
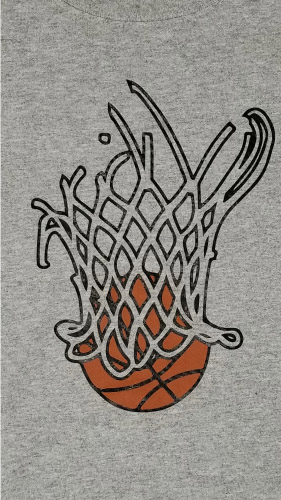
In the case of using heat transfer vinyl, we are getting the same look as we would with layering vinyl; however, we are not layering vinyl. Rather, we are setting one vinyl within the borders of another. Still confusing? Don’t worry, in this blog we’ll show how and give some examples.
Steps
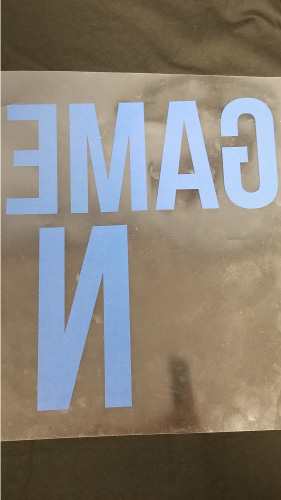
1) First, cut your designs out of heat transfer vinyl using your vinyl cutter/plotter. If you are doing an inlay within an image, you may need to isolate certain shapes within that image.
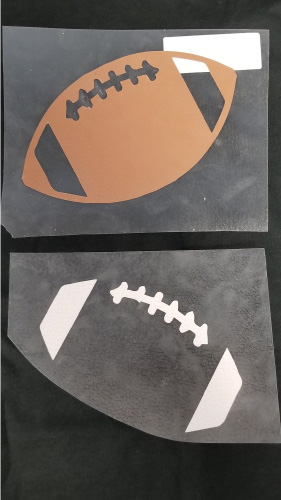
2) Weed away the excess material. Be careful with this step if you wish to inlay. Know which shapes within your image need to be weeded away, and which shapes do not. Below are examples of vinyl that has been weeded. As you may notice, the white stitches and stripes will be inlaid within the football.
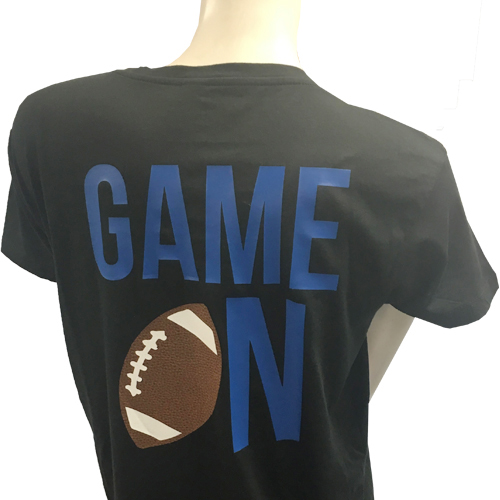
3) Now you are ready to press. All application instructions are available on our website. Just like when layering, the first vinyl that you are pressing does not need to be pressed for the full recommended time. Because it will be re-pressed, only 1-5 seconds are needed to tack it down. In the example of using the designs as shown above, we tacked down the Royal Blue Siser EasyWeed and White Carbon Wild Fashion Print for only 5 seconds. Then, the Brown Leather Wild Fashion Print was lined up so that the White Carbon Wild Fashion Print lays within it. This was applied for the full recommended 15 seconds.
4) That’s it! As a result in our example, we have the White Carbon Wild Fashion Prints set within (or inlaid) in the Brown Leather Wild Fashion Prints. Inlaying is a perfect way to get that layered vinyl look with vinyl materials that cannot be layered.


