Mar 2nd 2021
How to Sublimate Photo Panels
How to Sublimate Photo Panels: A Quick DIY Guide
Looking for a unique way to showcase memories or add custom products to your business? Sublimating photo panels is one of the easiest and most professional methods. Photo panels are durable, scratch-resistant, and deliver vibrant, lasting color—perfect for gifts, home décor, or resale. If you’ve been searching “how to sublimate photo panels” or “DIY sublimation photo panel tutorial,” this guide walks you through the process step by step.
Designing & Printing
You don’t need expensive software to create beautiful designs.
- Free tools: Canva, Google Docs, Inkscape
- Pro software: Adobe Illustrator, Photoshop
- Printer software: Both Epson and Sawgrass Printers include software/apps that let you size and print directly.
Tip: Always size your design slightly larger than the panel and mirror your image before printing.
Prepping & Pressing
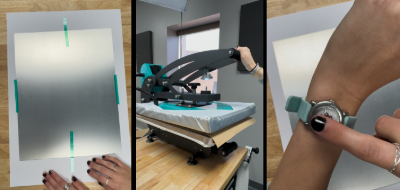
- Trim your print to fit your panel.
- Remove the protective film.
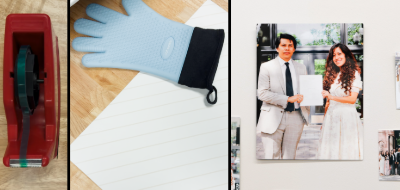
- Secure your design face down with heat-resistant tape.
Press settings:
- 380–390° F
- 50–60 seconds
- Medium to firm pressure
- Place kraft paper above and below the panel
After pressing, your panel will be extremely hot. Allow it to cool slightly before peeling back the sublimation paper in one smooth motion to prevent ghosting.


Display Options
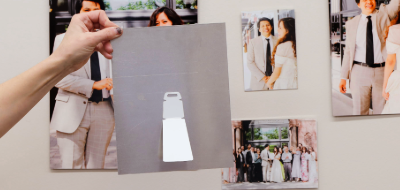
Panels can be mounted directly to the wall for a sleek gallery-style display, or paired with easels for a tabletop look. Easels are a nice add-on but not required.
Check out our sublimation photo panels to get started!


Pricing
A 5" x 7" photo panel with an easel costs about $3.75 in materials (including paper & ink). For resale, use this pricing model:
- Friends & family: ~$8
- Shops, shows, online: ~$12
Don’t forget to add shipping to your pricing and always use an insured shipping method.
Why Photo Panels Are a Smart Choice
Unlike paper prints, sublimation photo panels are long-lasting and resistant to fading. They’re a perfect choice for customers who want modern, high-quality photo displays—or for makers looking to expand their DIY sublimation business.
Ready to try it? Grab your Sawgrass sublimation printer, heat tape, kraft paper, and photo panels today and start creating your own masterpiece!


