Oct 28th 2025
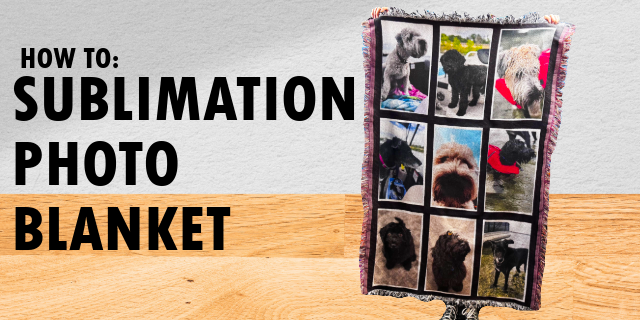
How to: Sublimate a Photo Throw Blanket
Why the 9-Panel Throw Blanket Is a Great Sublimation Blank
The Blank Sublimatable 9-Panel Throw Blanket (35" × 54") from Heat Transfer Warehouse is ideal for custom photo blankets, collages, holiday gifts, or home décor.
Because it features nine individual sublimation panels, you can personalize each section with photos, seasonal art, or patterns. Its soft polyester surface is perfect for sublimation dyes, and the decorative fringe gives it a cozy, finished look.
What You’ll Need
- 9-Panel Sublimation Throw Blanket (35" × 54") Get yours here
- Sublimation printer, inks, and tacky sublimation paper – tacky paper helps hold your transfer securely in place and prevents ghosting or shifting during pressing. Or Custom Sublimation Transfers that you ordered with us.
- Kraft paper or Teflon (for top and bottom protection)
- Heat tape (optional)
- Lint roller
- Heat press (16x20 or larger is ideal for this product)
- Protective gloves / heat-resistant tools
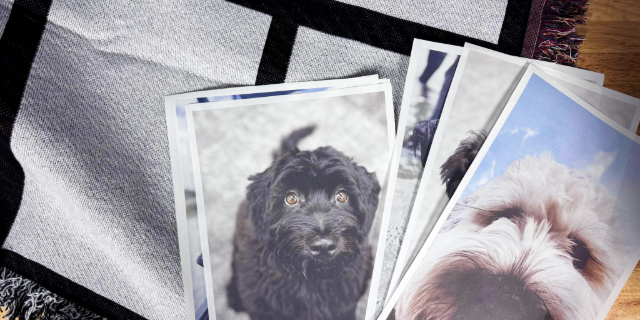
Artwork & Layout Tips
This step can make or break your final look, so let’s get the layout right ?
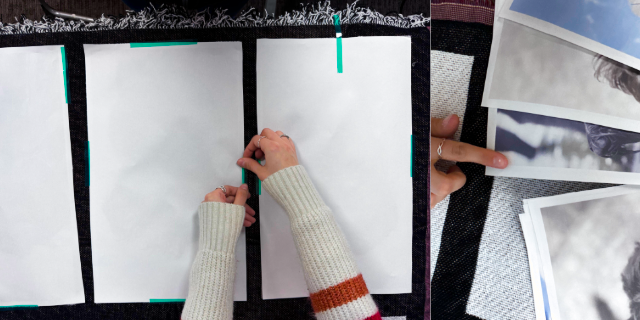
- Grid layout: Divide your artwork into nine rectangles matching the panel size (approximately 9" × 16" each).
- Pro Tip ?: Add a .40" border (bleed) around each image or create a thin light color border to prevent white gaps if your alignment is slightly off — this ensures full color coverage across seams.
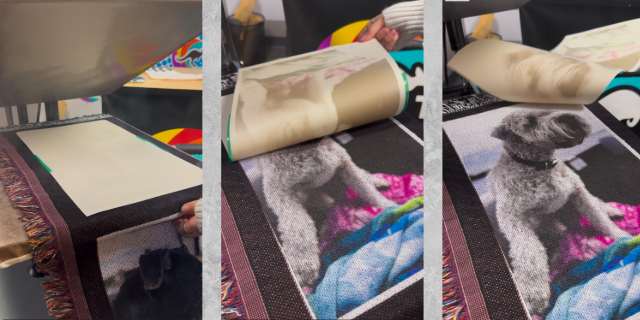
- Use tacky sublimation paper: This helps prevent ghosting, keeps your print from slipping, and ensures consistent color edge to edge.
- Mirror your images before printing — sublimation transfers face-down during pressing.
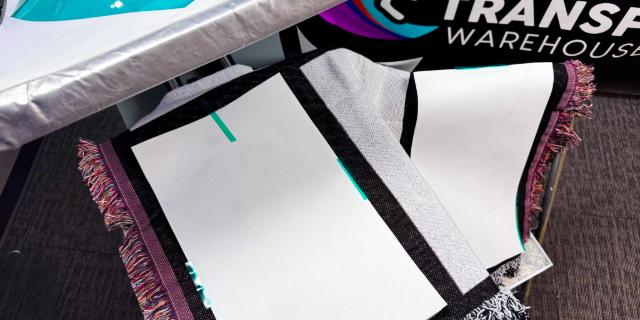
Prepare the Blanket
- Lint roll each panel thoroughly to remove dust or fibers.
- Pre-press each panel at 380–400°F for about 30 seconds to remove moisture and wrinkles.
Press Settings & Technique
|
Setting |
Recommendation |
|
Temp |
385-400°F |
|
Time |
60–75 seconds |
|
Pressure |
Medium to firm |
|
Paper |
Tacky sublimation paper for best results |
|
Peel |
Warm peel (let cool slightly before handling) |
If your heat press is smaller than the full blanket (which most are) , press in sections. Align carefully — that .40" bleed you added in your design will help ensure no white lines appear even if your placement isn’t 100% perfect. Use tacky paper or heat tape to hold prints securely in place before each press. We used a 16 x 20 heat press.
Post-Press & Finishing
- Let the blanket cool completely before moving or folding.
- Check for light spots or missed edges — if needed, do a quick 10–15 second re-press on that panel.
- For care: machine wash cold, gentle cycle, no bleach or softener, tumble dry low or air-dry.
Troubleshooting Common Issues
|
Problem |
Likely Cause |
Fix |
|
Faded areas |
Not enough heat/time |
Increase time or temp slightly |
|
White edges |
No bleed / misalignment |
Add a .20" border to artwork |
|
Ghosting |
Movement during press |
Use tacky paper or heat tape |
|
Dull colors |
Too much moisture |
Pre-press longer to remove moisture |
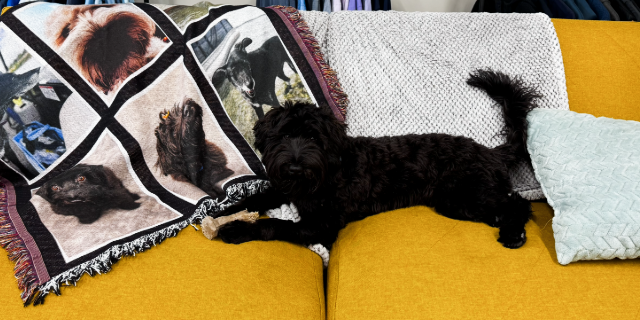
Creative Uses for the 9-Panel Blanket
- Family photo collage gift
- Pet portrait blanket
- Seasonal holiday décor
- Wedding, anniversary, or baby keepsake
- Senior photo or team blanket
Final Thoughts
The 9-Panel Sublimation Throw Blanket is a show-stopper for custom gifts and decor — and with a few simple tricks, your results will look perfectly professional.
Use tacky sublimation paper to prevent ghosting.
Add a .20" bleed to every image to avoid white borders.
Take your time aligning each panel for seamless results.
Once you try this technique, you’ll see how easy it is to turn this cozy blanket into a colorful, personal keepsake everyone will love.