
Feb 3rd 2025
Supacolor Tips and Tricks for Flawless Results
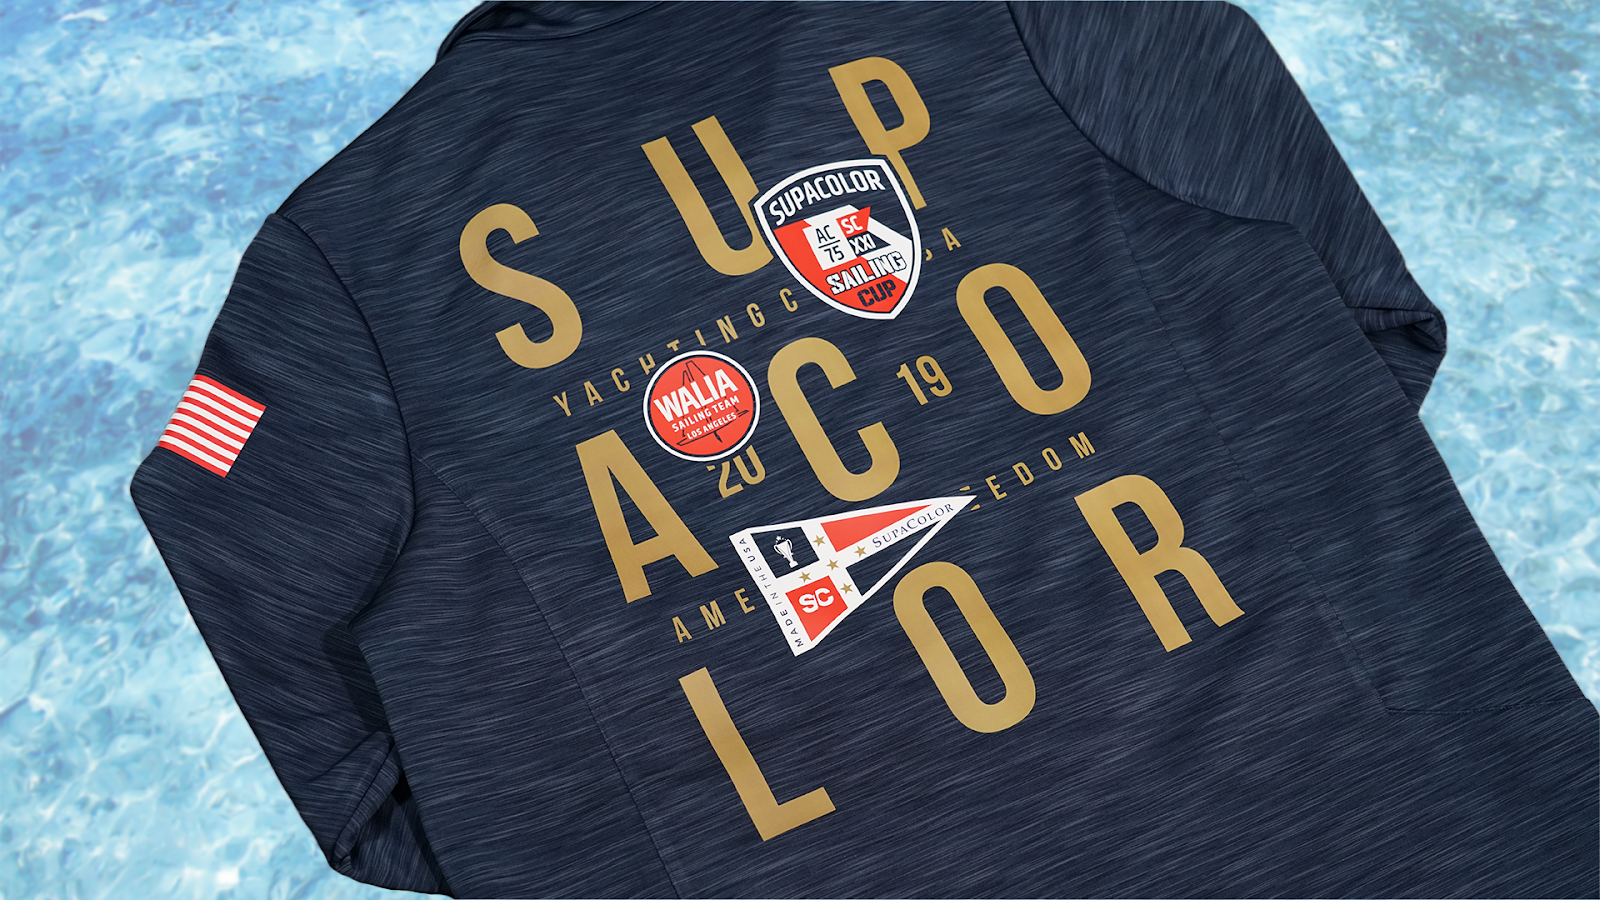
Supacolor transfers are known for their vibrant colors, durability, and versatility, but achieving perfect results every time requires following specific techniques. Whether you're a beginner or an experienced professional, these tips and tricks will ensure your Supacolor projects look stunning and last long.
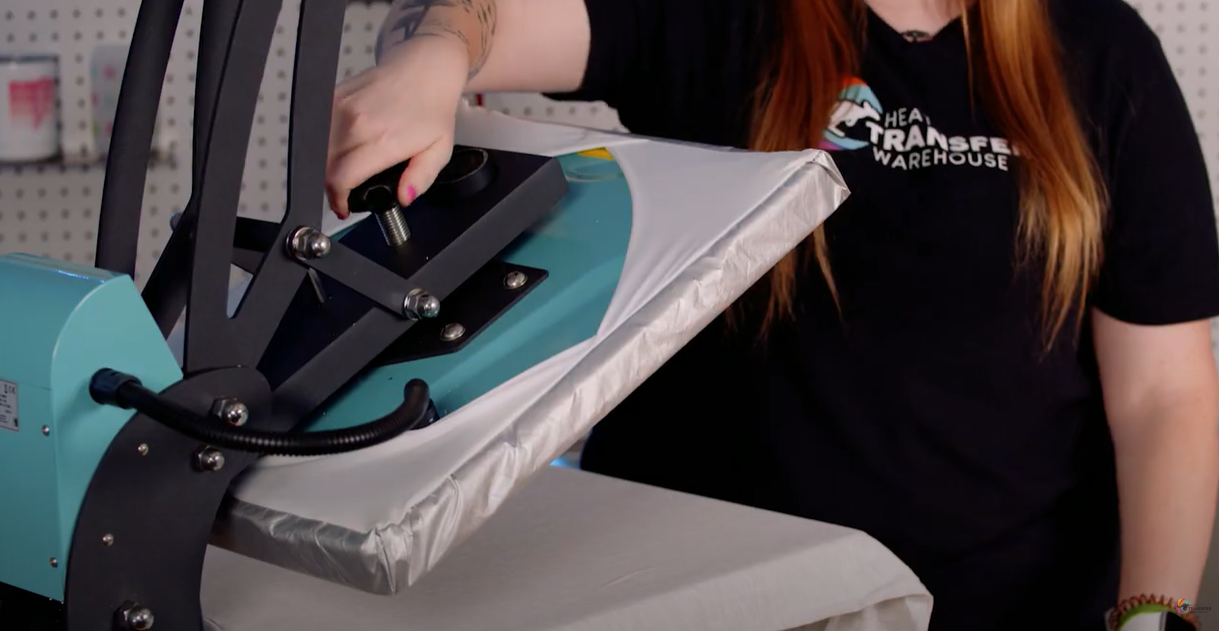
Ensure the Surface is Flat
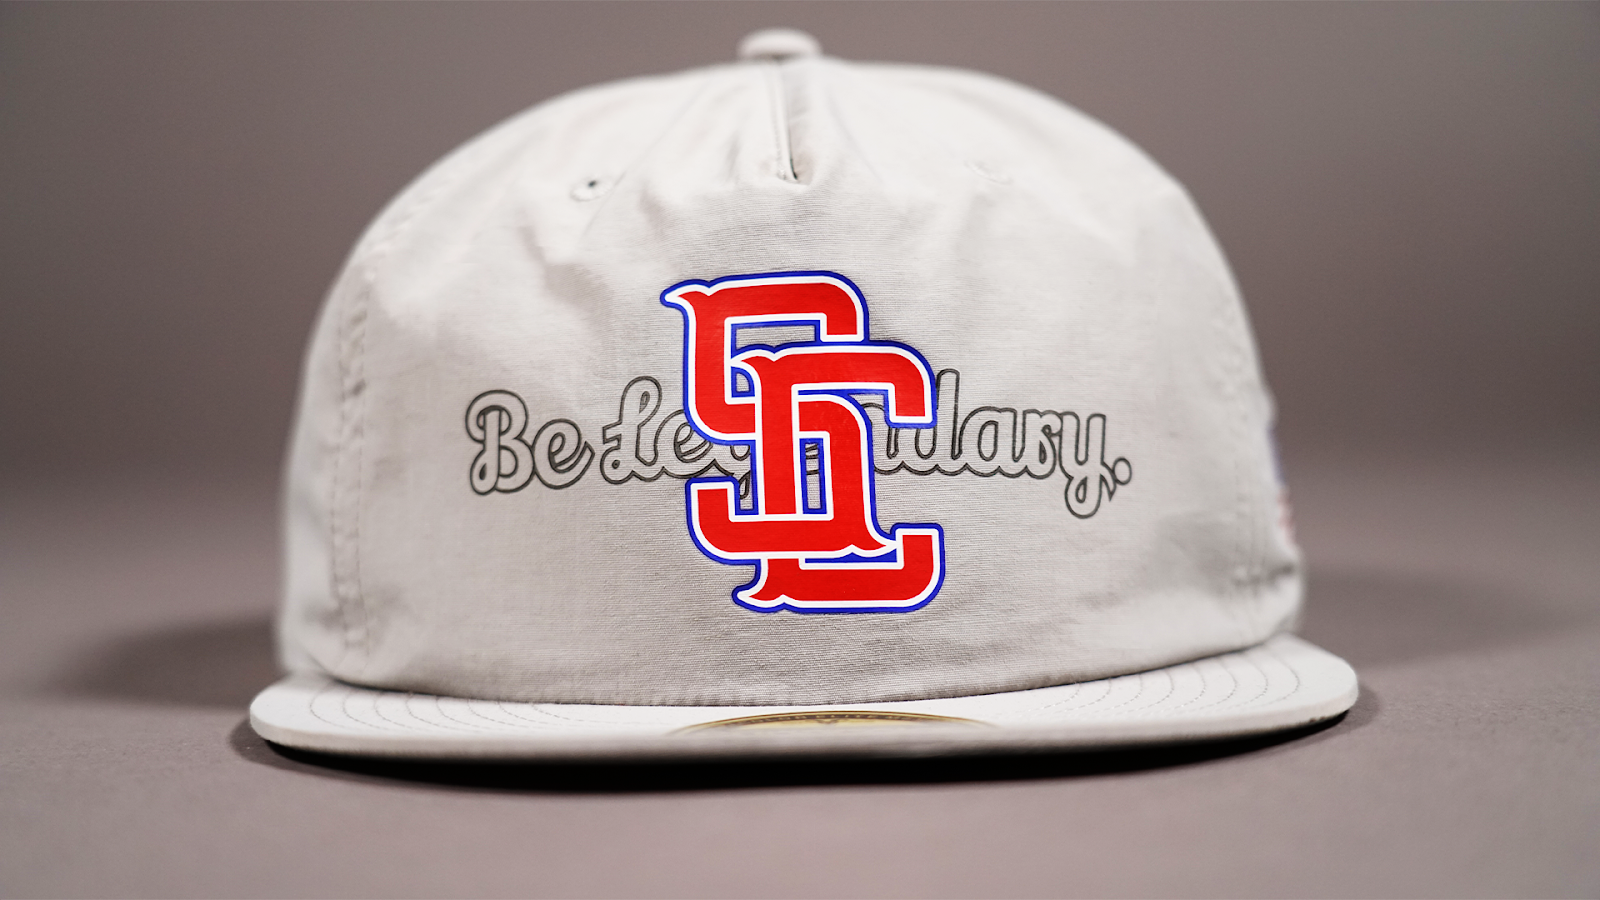
One of the most important steps when working with Supacolor transfers is ensuring the surface of your garment or item is flat against the heat press platen. For example, if you're pressing a hat, make sure there are no creases or folds, as these will affect the transfer’s adhesion and final appearance.
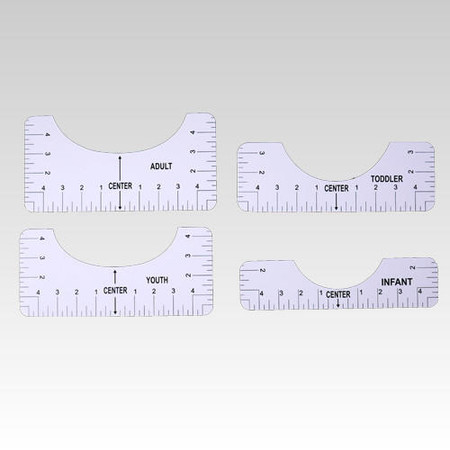
Position the Transfer Correctly
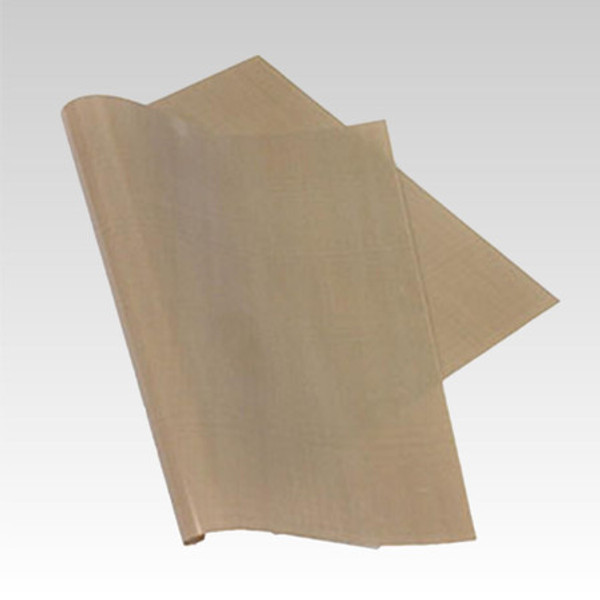
Position the Supacolor transfer on the garment exactly where you want it. For precise alignment, consider using a heat press ruler guide to ensure your transfer is perfectly centered and straight. Once positioned, cover the transfer with a teflon sheet or parchment paper to safeguard both the transfer and the garment from direct contact with the heat press platen.
Recommended Application Settings
Supacolor transfers have specific settings depending on the type of product you’re pressing. Following these recommendations is crucial for optimal results:
Wearables:
- Press Temp: 320°F
- Press Time: 12-15 seconds
- Pressure: 40 - 50 psi or firm pressure

Blocker:
- Press Temp: 290°F
- Press Time: 10 seconds
- Pressure: 35 - 40 psi or medium pressure
Softshell Blocker:
- Press Temp: 290°F
- Press Time: 10 seconds
- Pressure: 35 - 40 psi or medium pressure
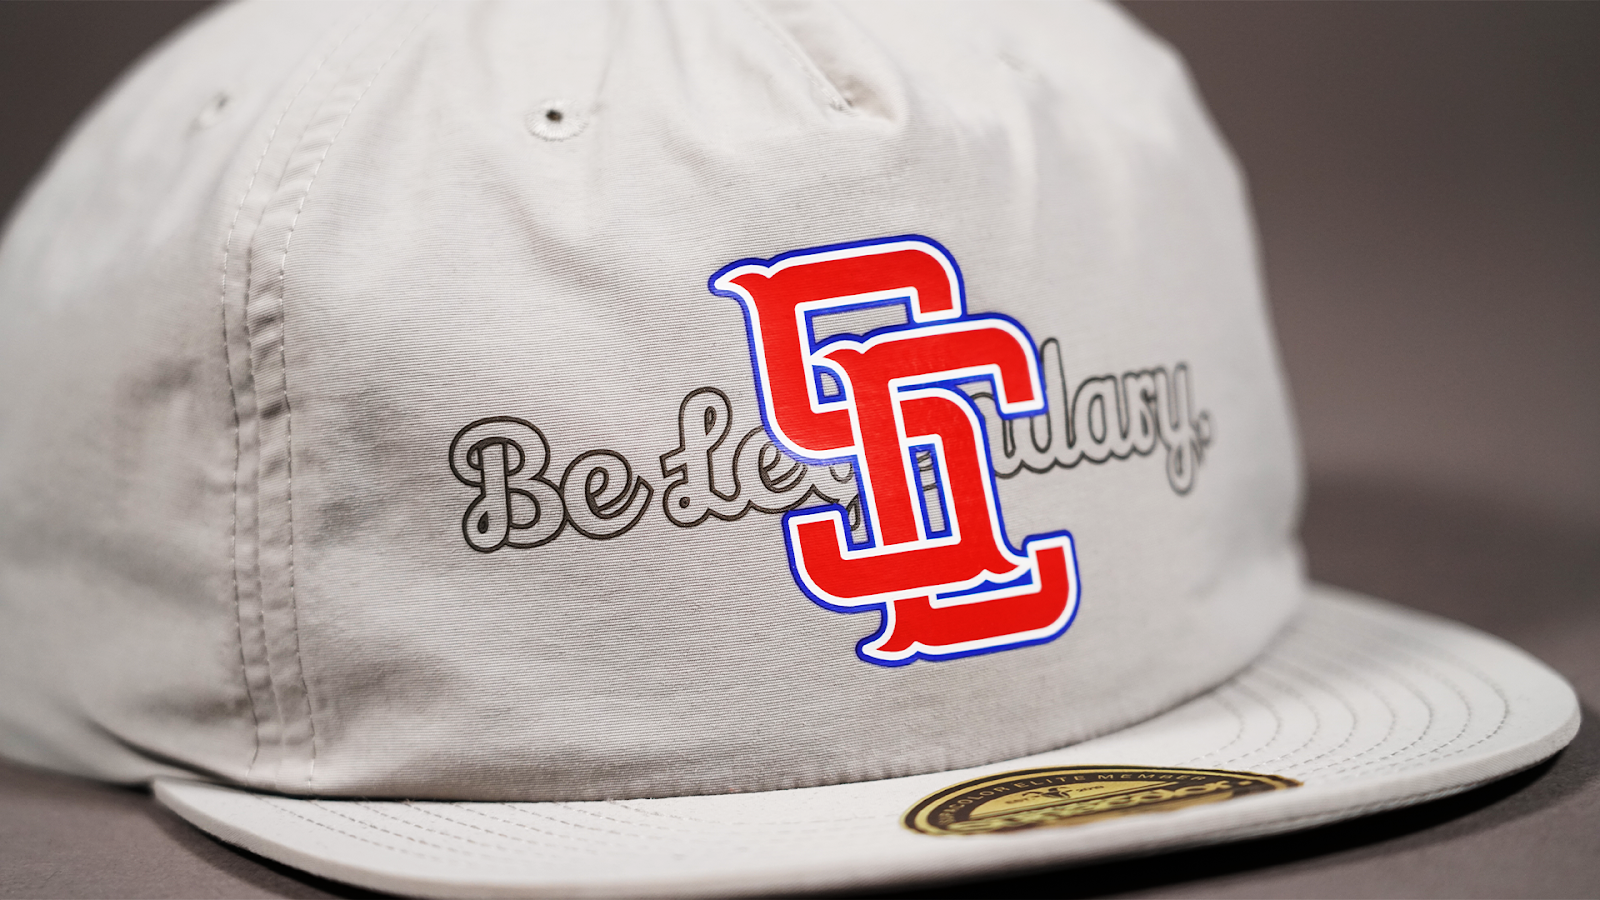
Headwear:
- Press Temp: 320°F (Cotton) / 290°F (Polyester)
- Press Time: 8 seconds
- Pressure: High or firm pressure
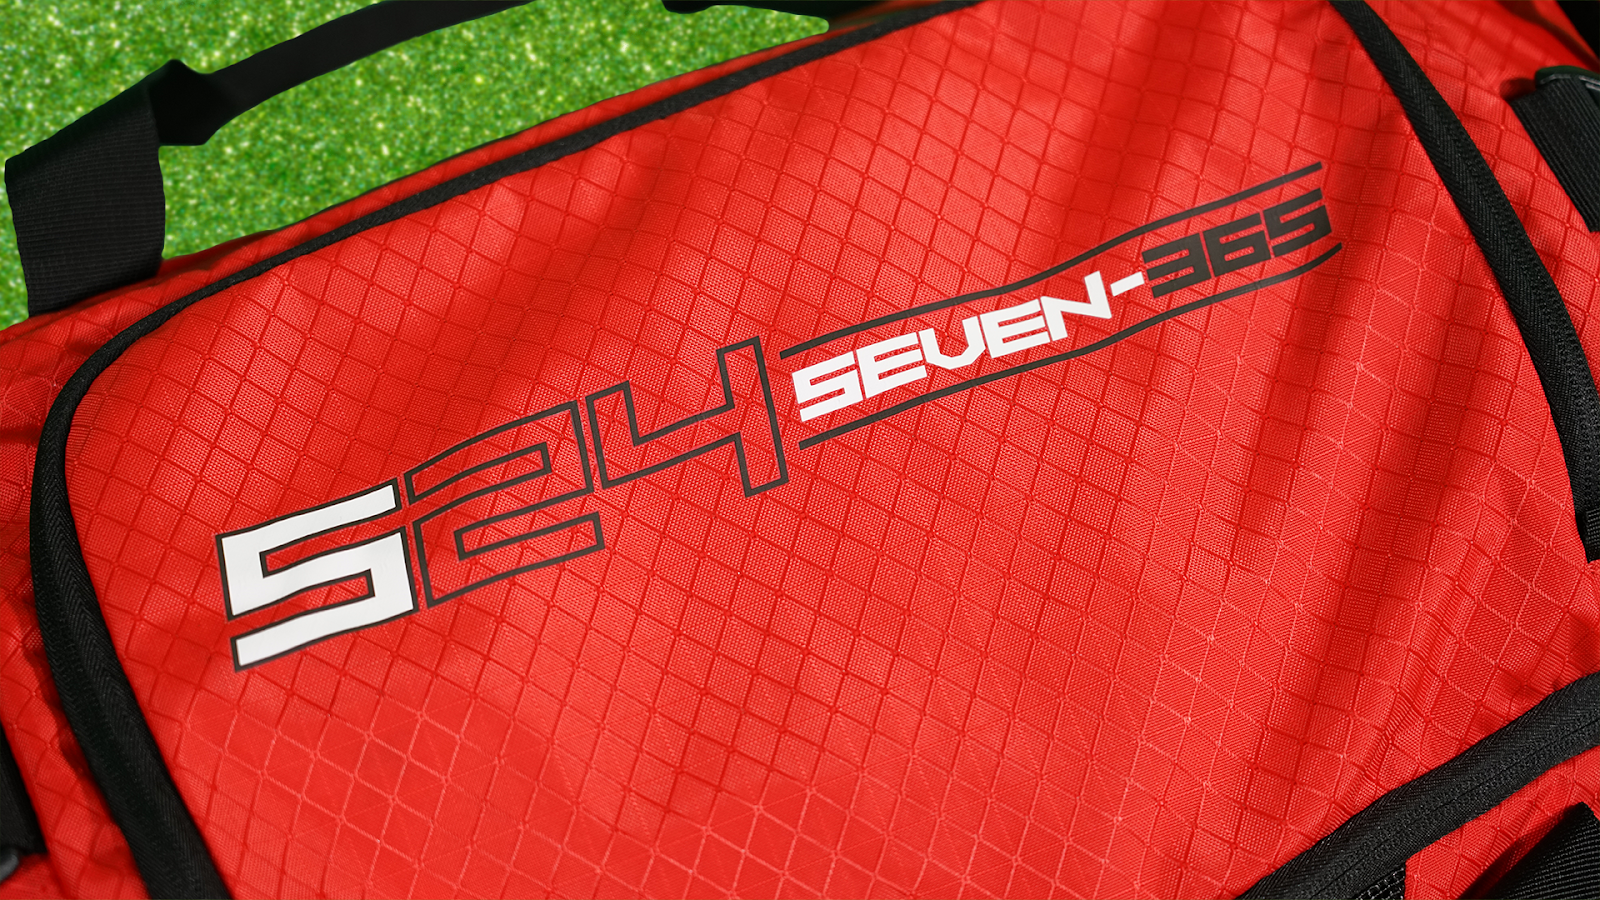
Promotional Items:
- Press Temp: 290 - 320°F
- Press Time: 6-8 seconds and lower temperature for more heat-sensitive materials like umbrellas, 12-15 seconds and higher temperature for tote bags.
- Pressure: 30-40 psi or medium pressure

Getting the Correct Pressure
To achieve the correct and even pressure:
-
Tighten the knob on your heat press until it can no longer close.
-
Loosen it half a turn at a time until the heat press can close properly.
This is the correct pressure you should use for your Supacolor transfers. When pressing smaller items or sleeves, ensure the garment is placed in the middle of your heat press to create even pressure.
Peel Immediately
For best results, perform a hot peel immediately after lifting the press. Start peeling from a corner and use a smooth, confident motion without hesitation. This ensures the transfer adheres properly without leaving any residue.
Post-Press for Sealing
To ensure the edges of your transfer are securely sealed, post-press the garment for 2 seconds. Use a teflon sheet or parchment paper to protect the design during this step.
Test Before Production
Always test press on a spoiled garment or item before starting full production. Supacolor provides spare transfers specifically for this purpose, allowing you to fine-tune your press settings and avoid costly mistakes.
Troubleshooting Tips
If the transfer isn’t sticking properly, try these adjustments:
-
Increase Pressure: Ensure the press is applying sufficient pressure (adjust as needed).
-
Peel Quickly: Peel within 2 seconds of lifting the press.
-
Repress: If peeling remains difficult, repress for 4 seconds and peel from a different corner.
Avoid Seams and Pockets
For best adhesion, keep the transfer away from seams, gussets, and pockets. If you need to press a transfer over a seam, use a heat press pillow to maintain even pressure across the entire design.

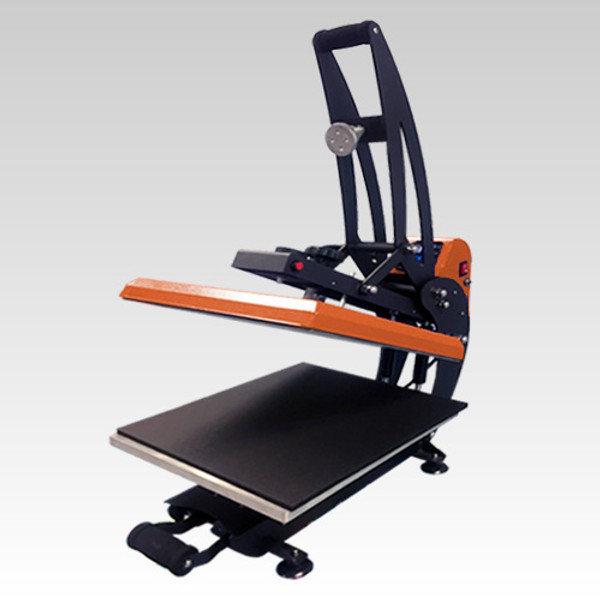
Use the Right Equipment
We do not recommend using the Cricut Easy Press or any manual hand-operated heat press, as they often struggle to provide the consistent and adequate pressure required for these transfers. Instead, we suggest using a heat press with adjustable pressure and an auto-open feature for the best results.
Follow Garment-Specific Settings
Settings may vary based on the garment type and the heat press being used. Always check and adjust accordingly to prevent issues like scorching or poor adhesion.
By following these tips and tricks, you’ll maximize the quality and durability of your Supacolor transfers, ensuring satisfied customers and professional-looking products. For more detailed instructions, visit Supacolor’s official tutorial: How to Properly Press Supacolor Transfers.